Personal Blog With Quartz

Guide overview #
What will you learn in this guide? #
In this guide, you will use a framework called Quartz to launch your first personal website or Wiki. By following each of these steps, you will go from sharing your first post to customizing the website to deploying the site.
What is Quartz? #
Quartz is a fast, batteries-included static-site generator that transforms Markdown content into fully functional websites. Thousands of students, developers, and teachers are already using Quartz to publish personal notes, websites, and digital gardens to the web.
Getting started #
Use the Quartz template #
Go to the Replit Quartz Template page, and click “Use Template” in the top right.
Make a new project #
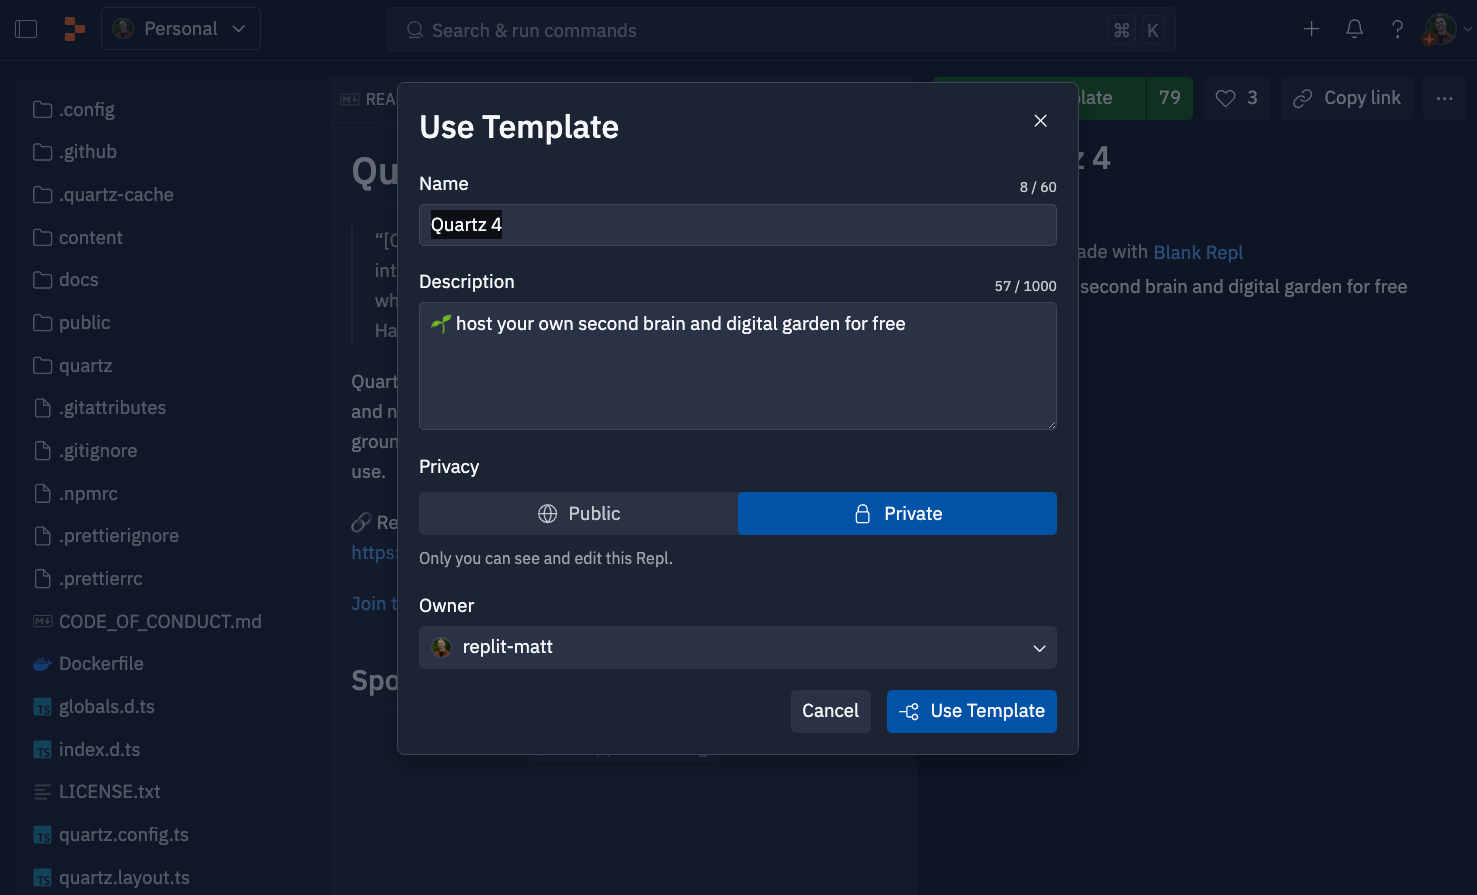
Name your Replit project, and then click “Use Template”
Click the Run button #
Click the “Run” button at the top of the page. After a few seconds, the webview should appear, and you should see your website. You can open the replit.dev url in the Webview to see the website in a separate tab.
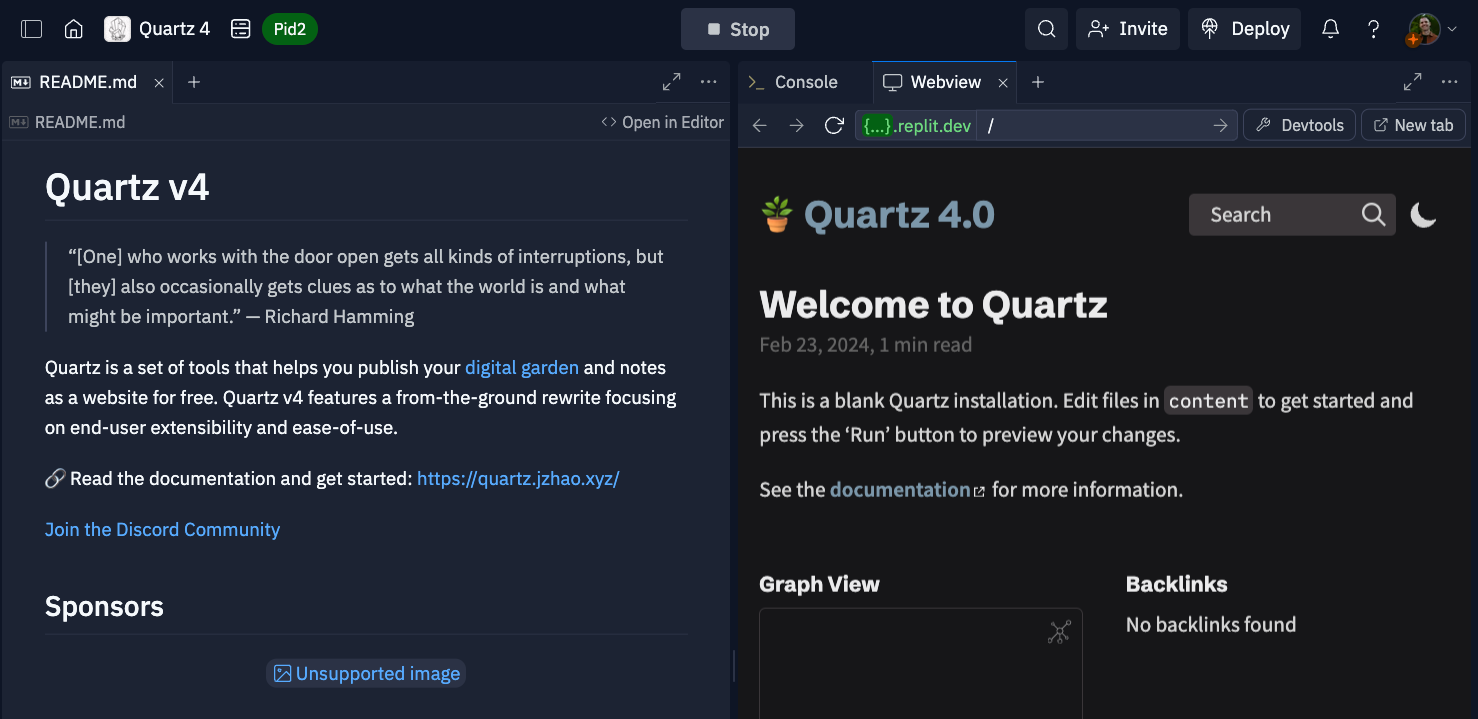
Customizing the content on your website #
You now have a functioning personal website… but it says Quartz everywhere. Here’s a step-by-step to customizing the website.
Change the name of the website
Right now, the webpage says “Quartz 4.0.” We can change this to whatever we want. In the top-left corner, you should see a bar that says “Search.”
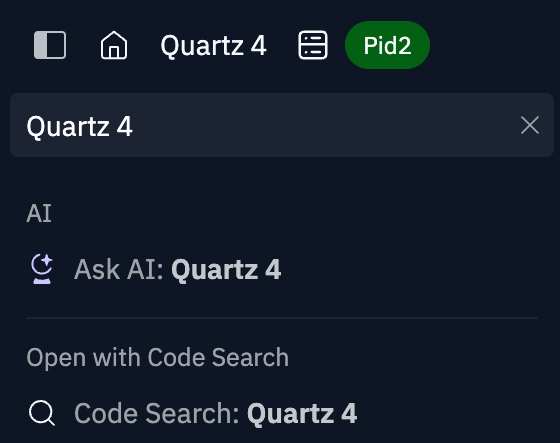
Type in “Quartz 4.0”. Click “Code Search: Quartz 4.0.” This will surface where in the project the title is. This search should bring you to a file called quartz.config.ts. This is a TypeScript file that sets the configuration of the page.
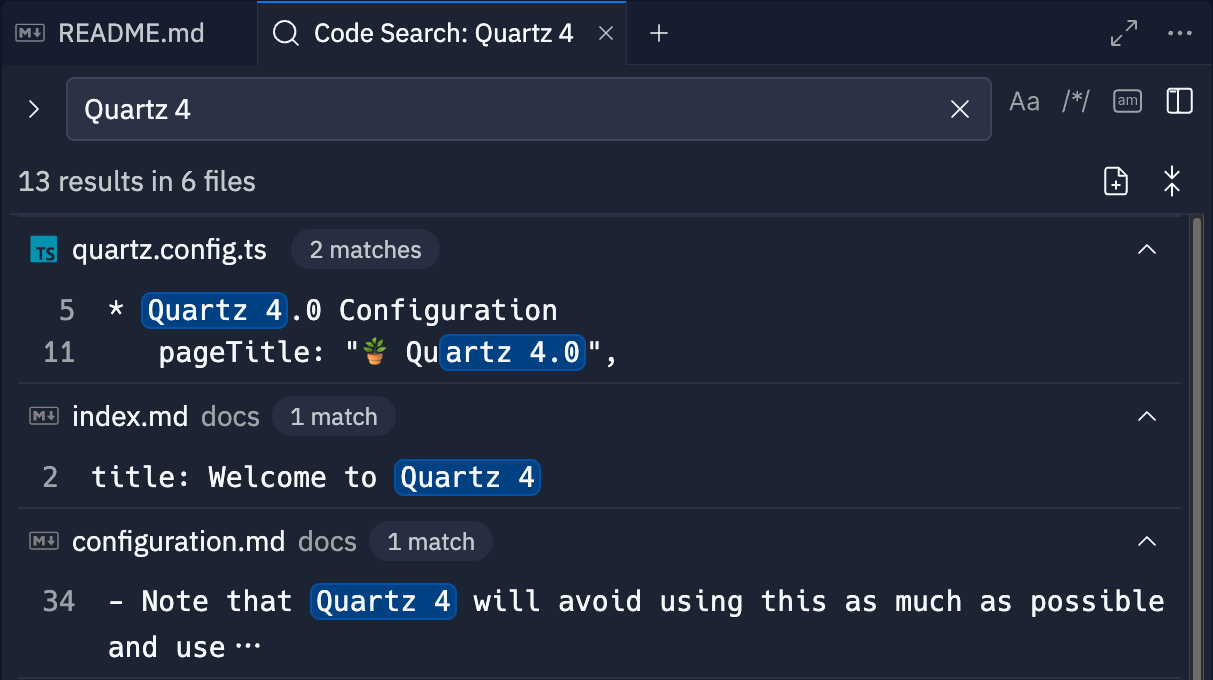
There is: pageTitle: "🪴 Quartz 4.0"
Change the content in the quotations to the title of your new website. I will change it to “Personal website.” Click the run button again, and the changes should be live!
Update the homepage
The landing page is stored in the content folder within the index.md file. When you open the file, you should be able to edit it. If not, click “Open in editor” in the top-right.” You will notice there is a section with:
This section is referred to as the frontmatter. Quartz has a variety of attributes you can use in this section for formatting. For now, we just have the title.
Let’s change the title and body. Make your adjustments to this file, and hit the run button to see the output. (Note: You may need to click the “Webview” tab to view the website)
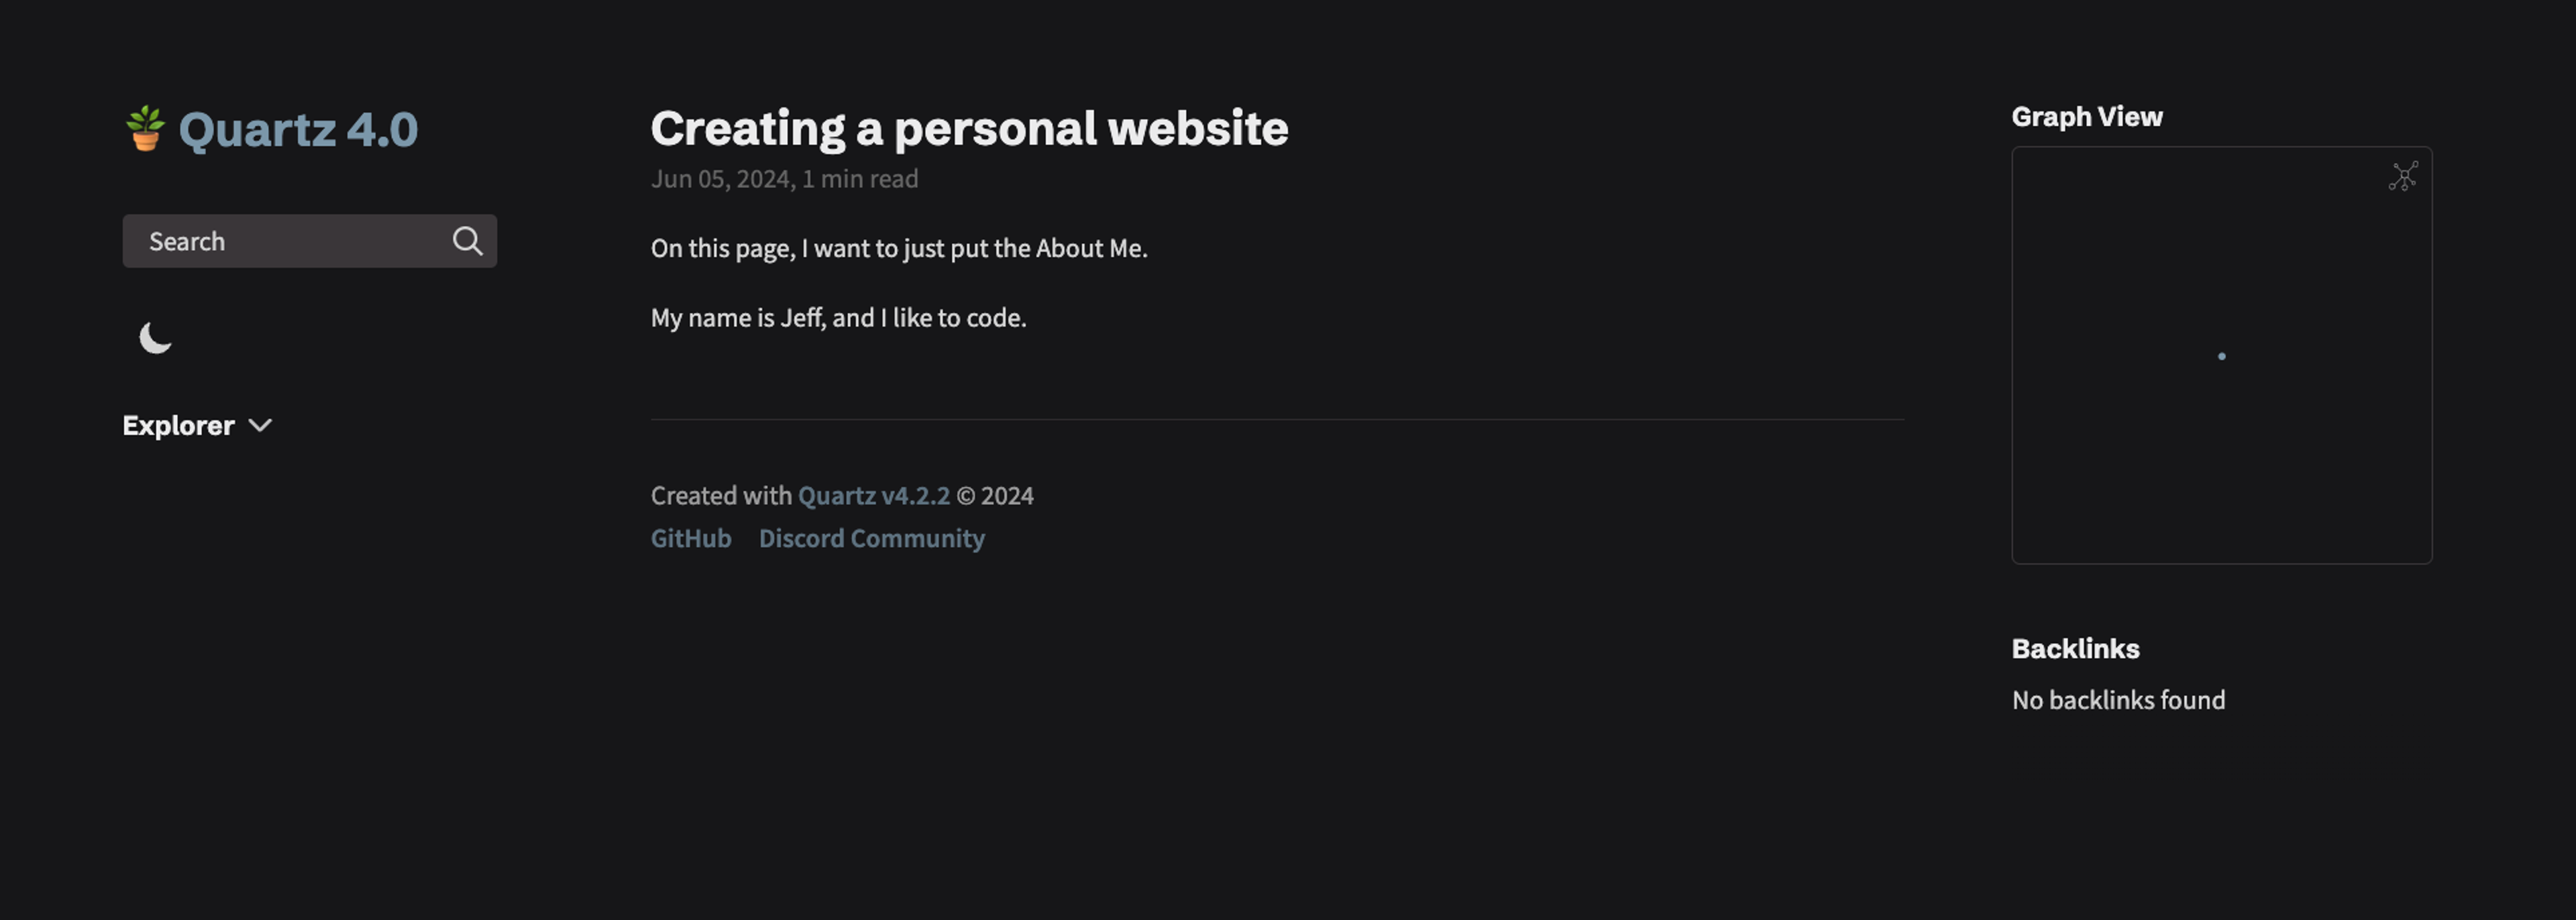
Once you hit run, you should see the adjustments on the replit.dev url.
Note on Markdown
.md is the extension for Markdown files. Markdown files make it really easy to type web content. If you have not ever used Markdown, here is a syntax guide. Some high-level examples:
- Test Create headers with # signs; examples:
- # = h1
- ## = h2
- Use *’s to format text; examples:
- **word** will bold the word.
- *word* will italicize the word
- Use “*” or “-” for bullets
Add a new webpage and section
All content will be added In the content folder. Adding folders will add sections. Adding .md files will add new webpages.
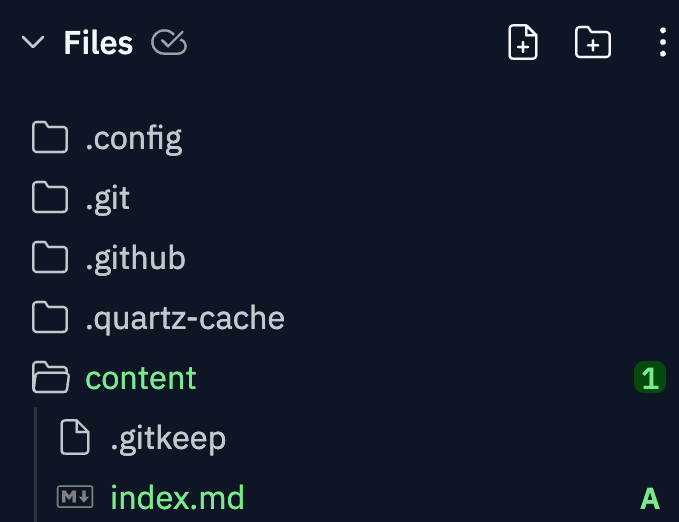
Currently, the content folder only has one file: index.md. We already adjusted this (which is why it’s highlighted green). You can add more pages under “content”, or you can organize them in sections. For this example, we will use two sections. We are going to add two folders:
- blogs
- book reviews
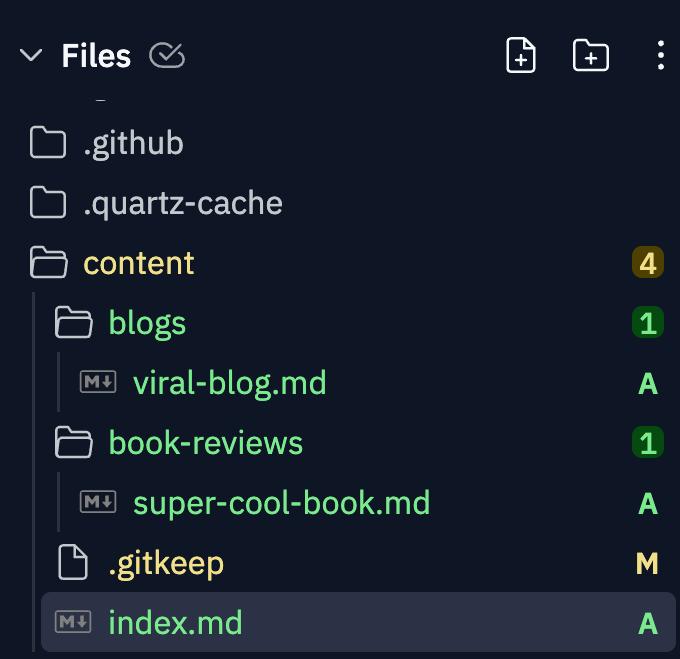
For each folder, we will add an initial page. The content structure should look something like this:
Now, if I go to the replit.dev url, I will see the posts:
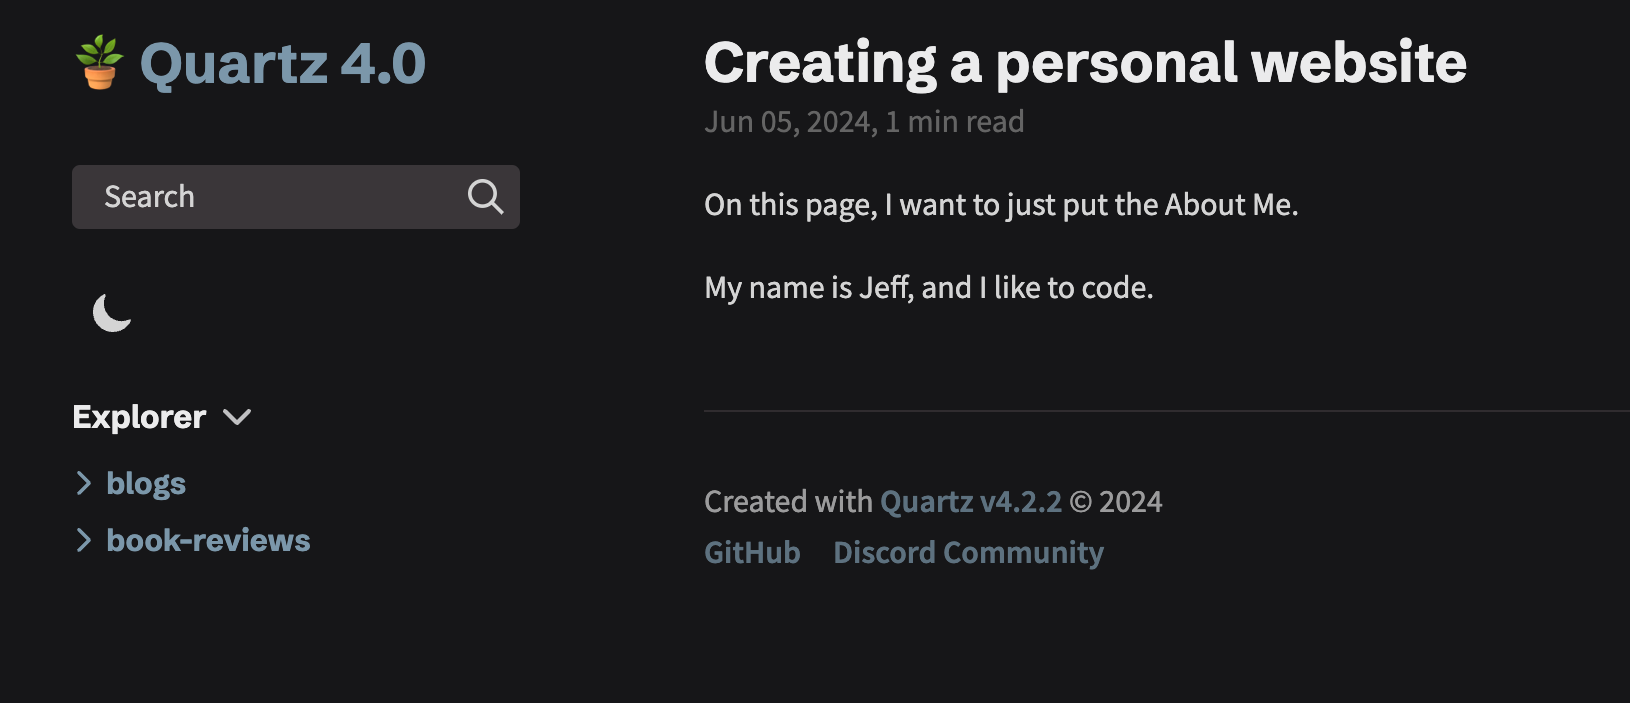
Each markdown file represents a unique webpage. You can click the post, and it will bring you to the webpage with the format:
{domain}/blogs/viral-blog
You can name these sections or posts whatever you want and fill them with content.
Adding frontmatter for a publishing flow
Earlier we mentioned “frontmatter.” These are plugins used at the beginning of a post to help organize your website. For a basic blog, I am just going to show a few examples:
Start by pasting the above snippet into one of the markdown posts you created in the previous step. Click Run on the project, and you should see the following:
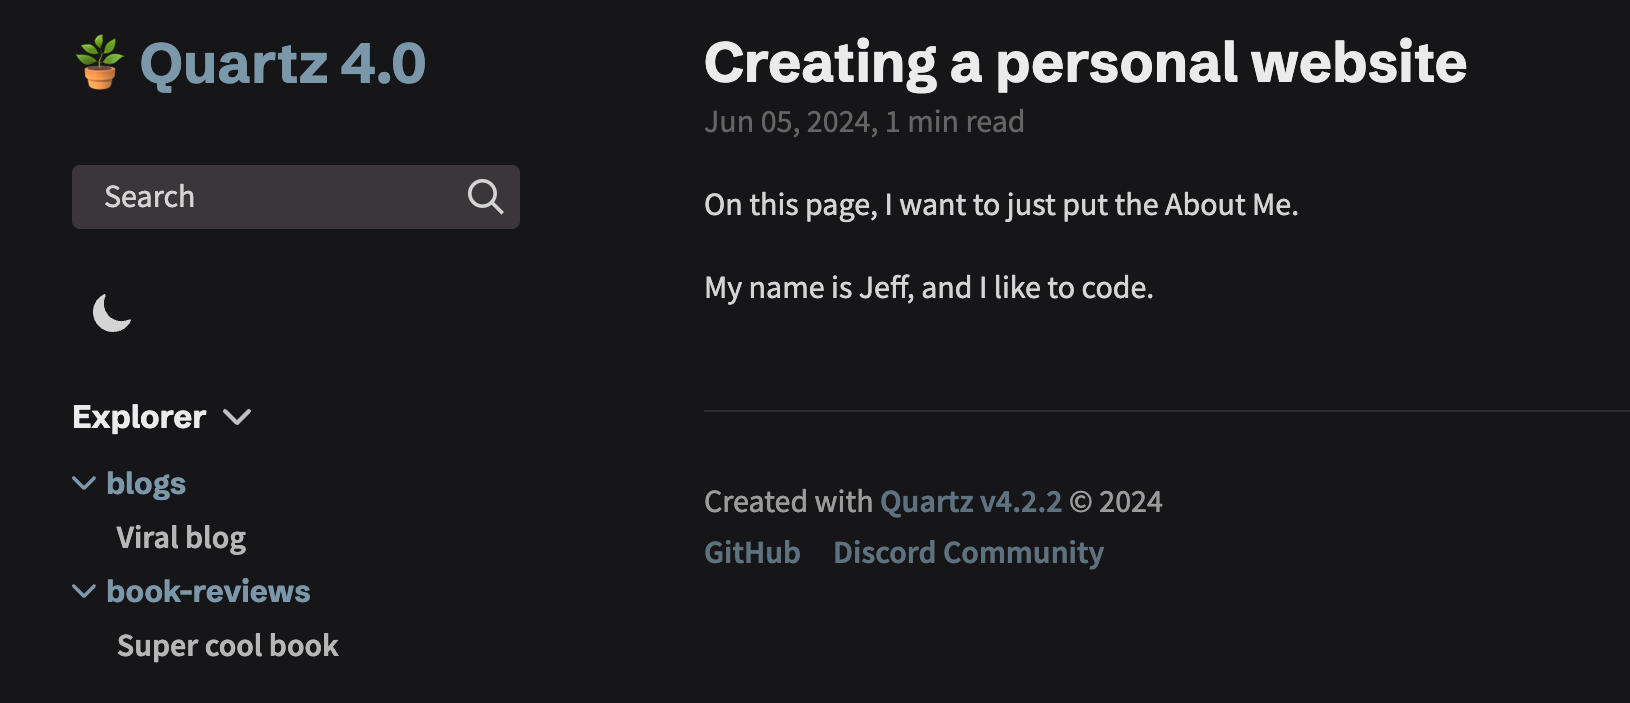
The frontmatter adds the following:
- title: The title of the post
- draft: when this is false, then the post is live. If you want to write a post that should be hidden, you can keep this as true
- tags: this adds custom tags to each post. If you click the technology tag, it should give a listed page of all website posts with that tag
- date: the date of the published post
For more frontmatter options, I suggest reading the Quartz documentation.
Adding section headers
For each folder, you can add an “About section” page using an index.md file. If you recall, we already used an index.md file to create our homepage.
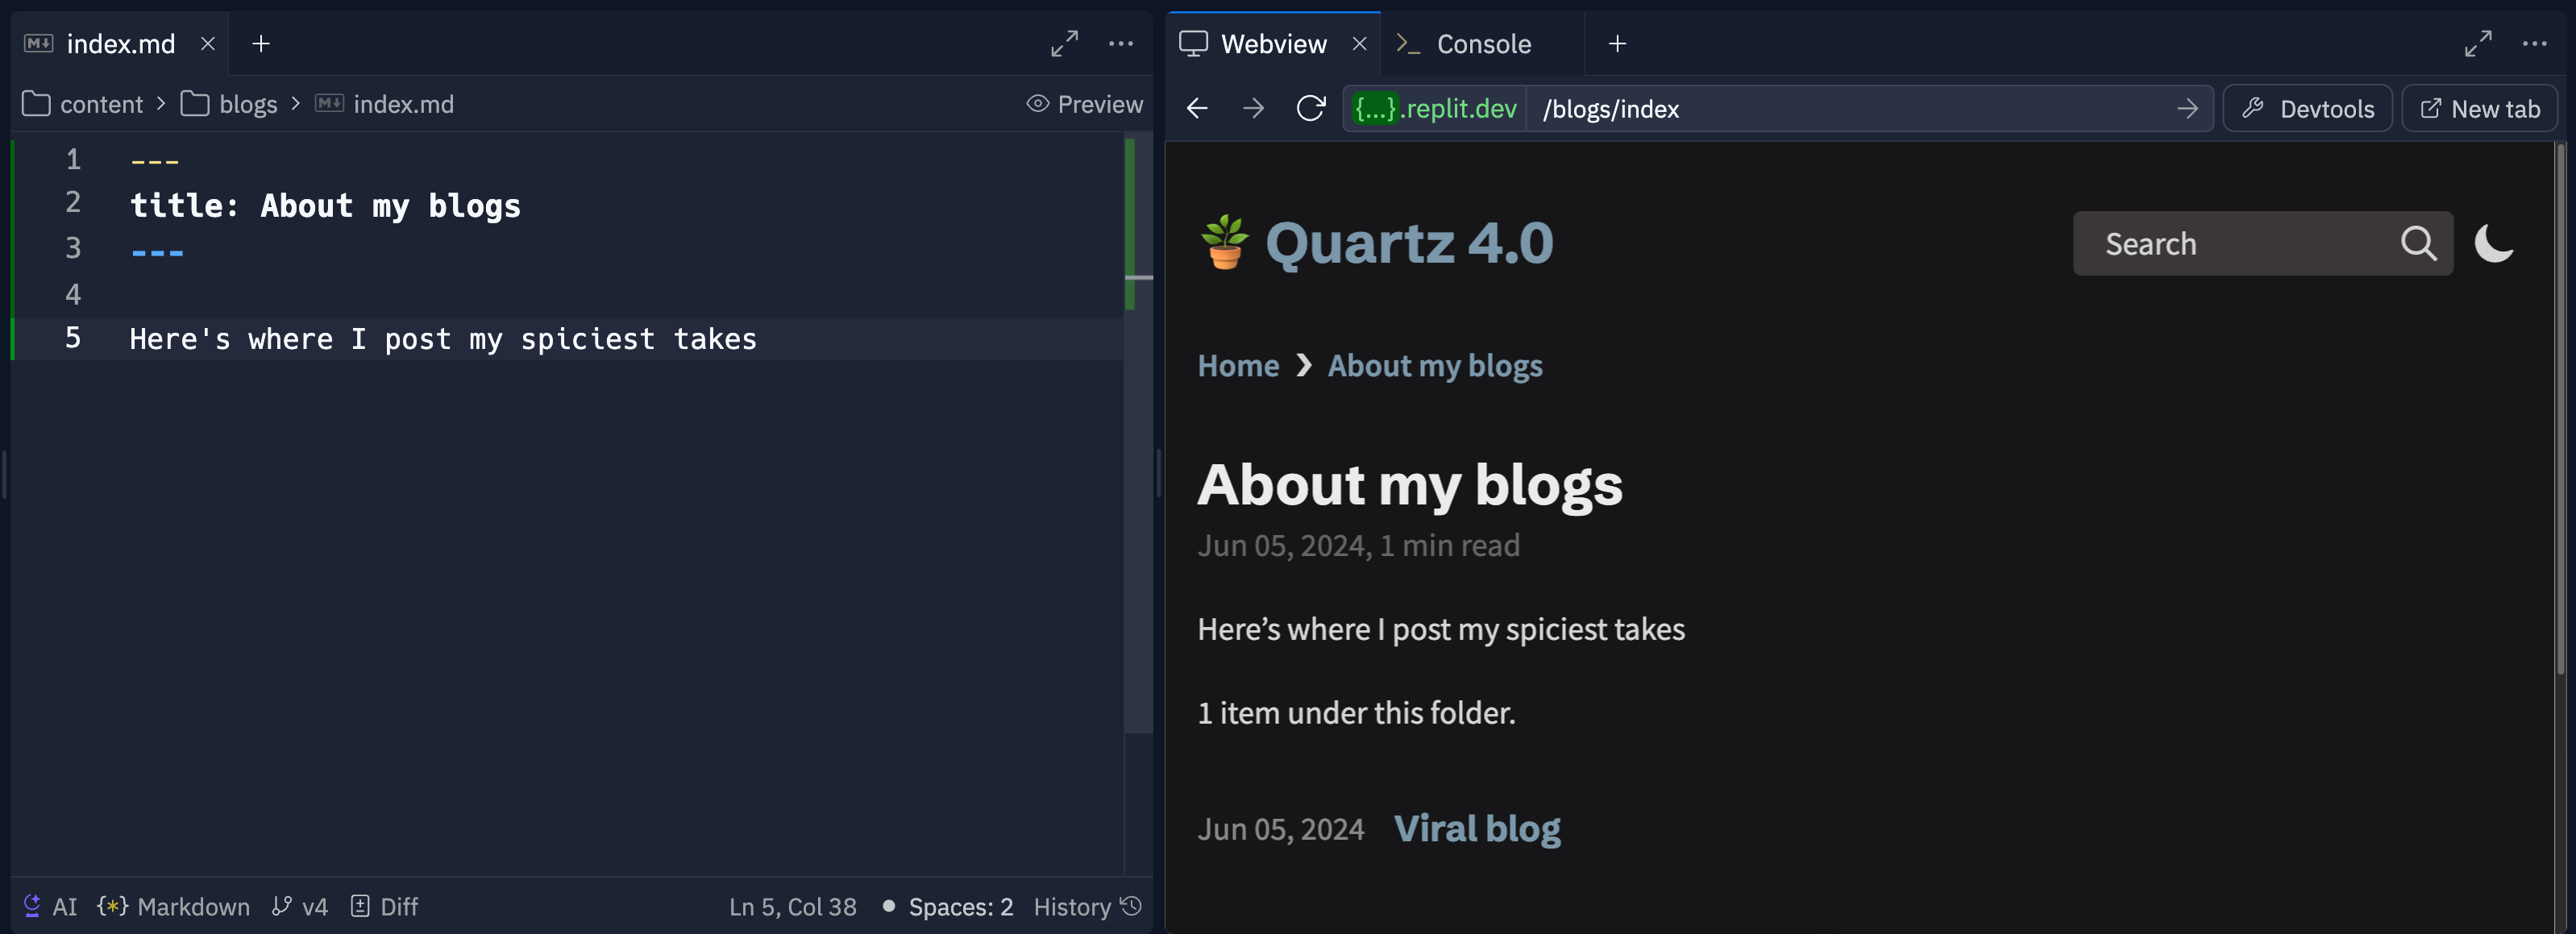
Each folder can have an index.md file, so if you add one in blogs, then you can customize the main page.
This can be helpful if you have different web sections you want to explain or add more links to.
Adding images
Adding images can enhance your personal blog. I used DeepAI’s free image generator to generate my first image. The prompt was, “a creative writer at a desk.”

This will work for now! To add images, we will start by adding a folder labeled images. Similar to index.md, I will add one to each section. Adding this folder will not create a new section on the website as long as you do not add a .md file to it.
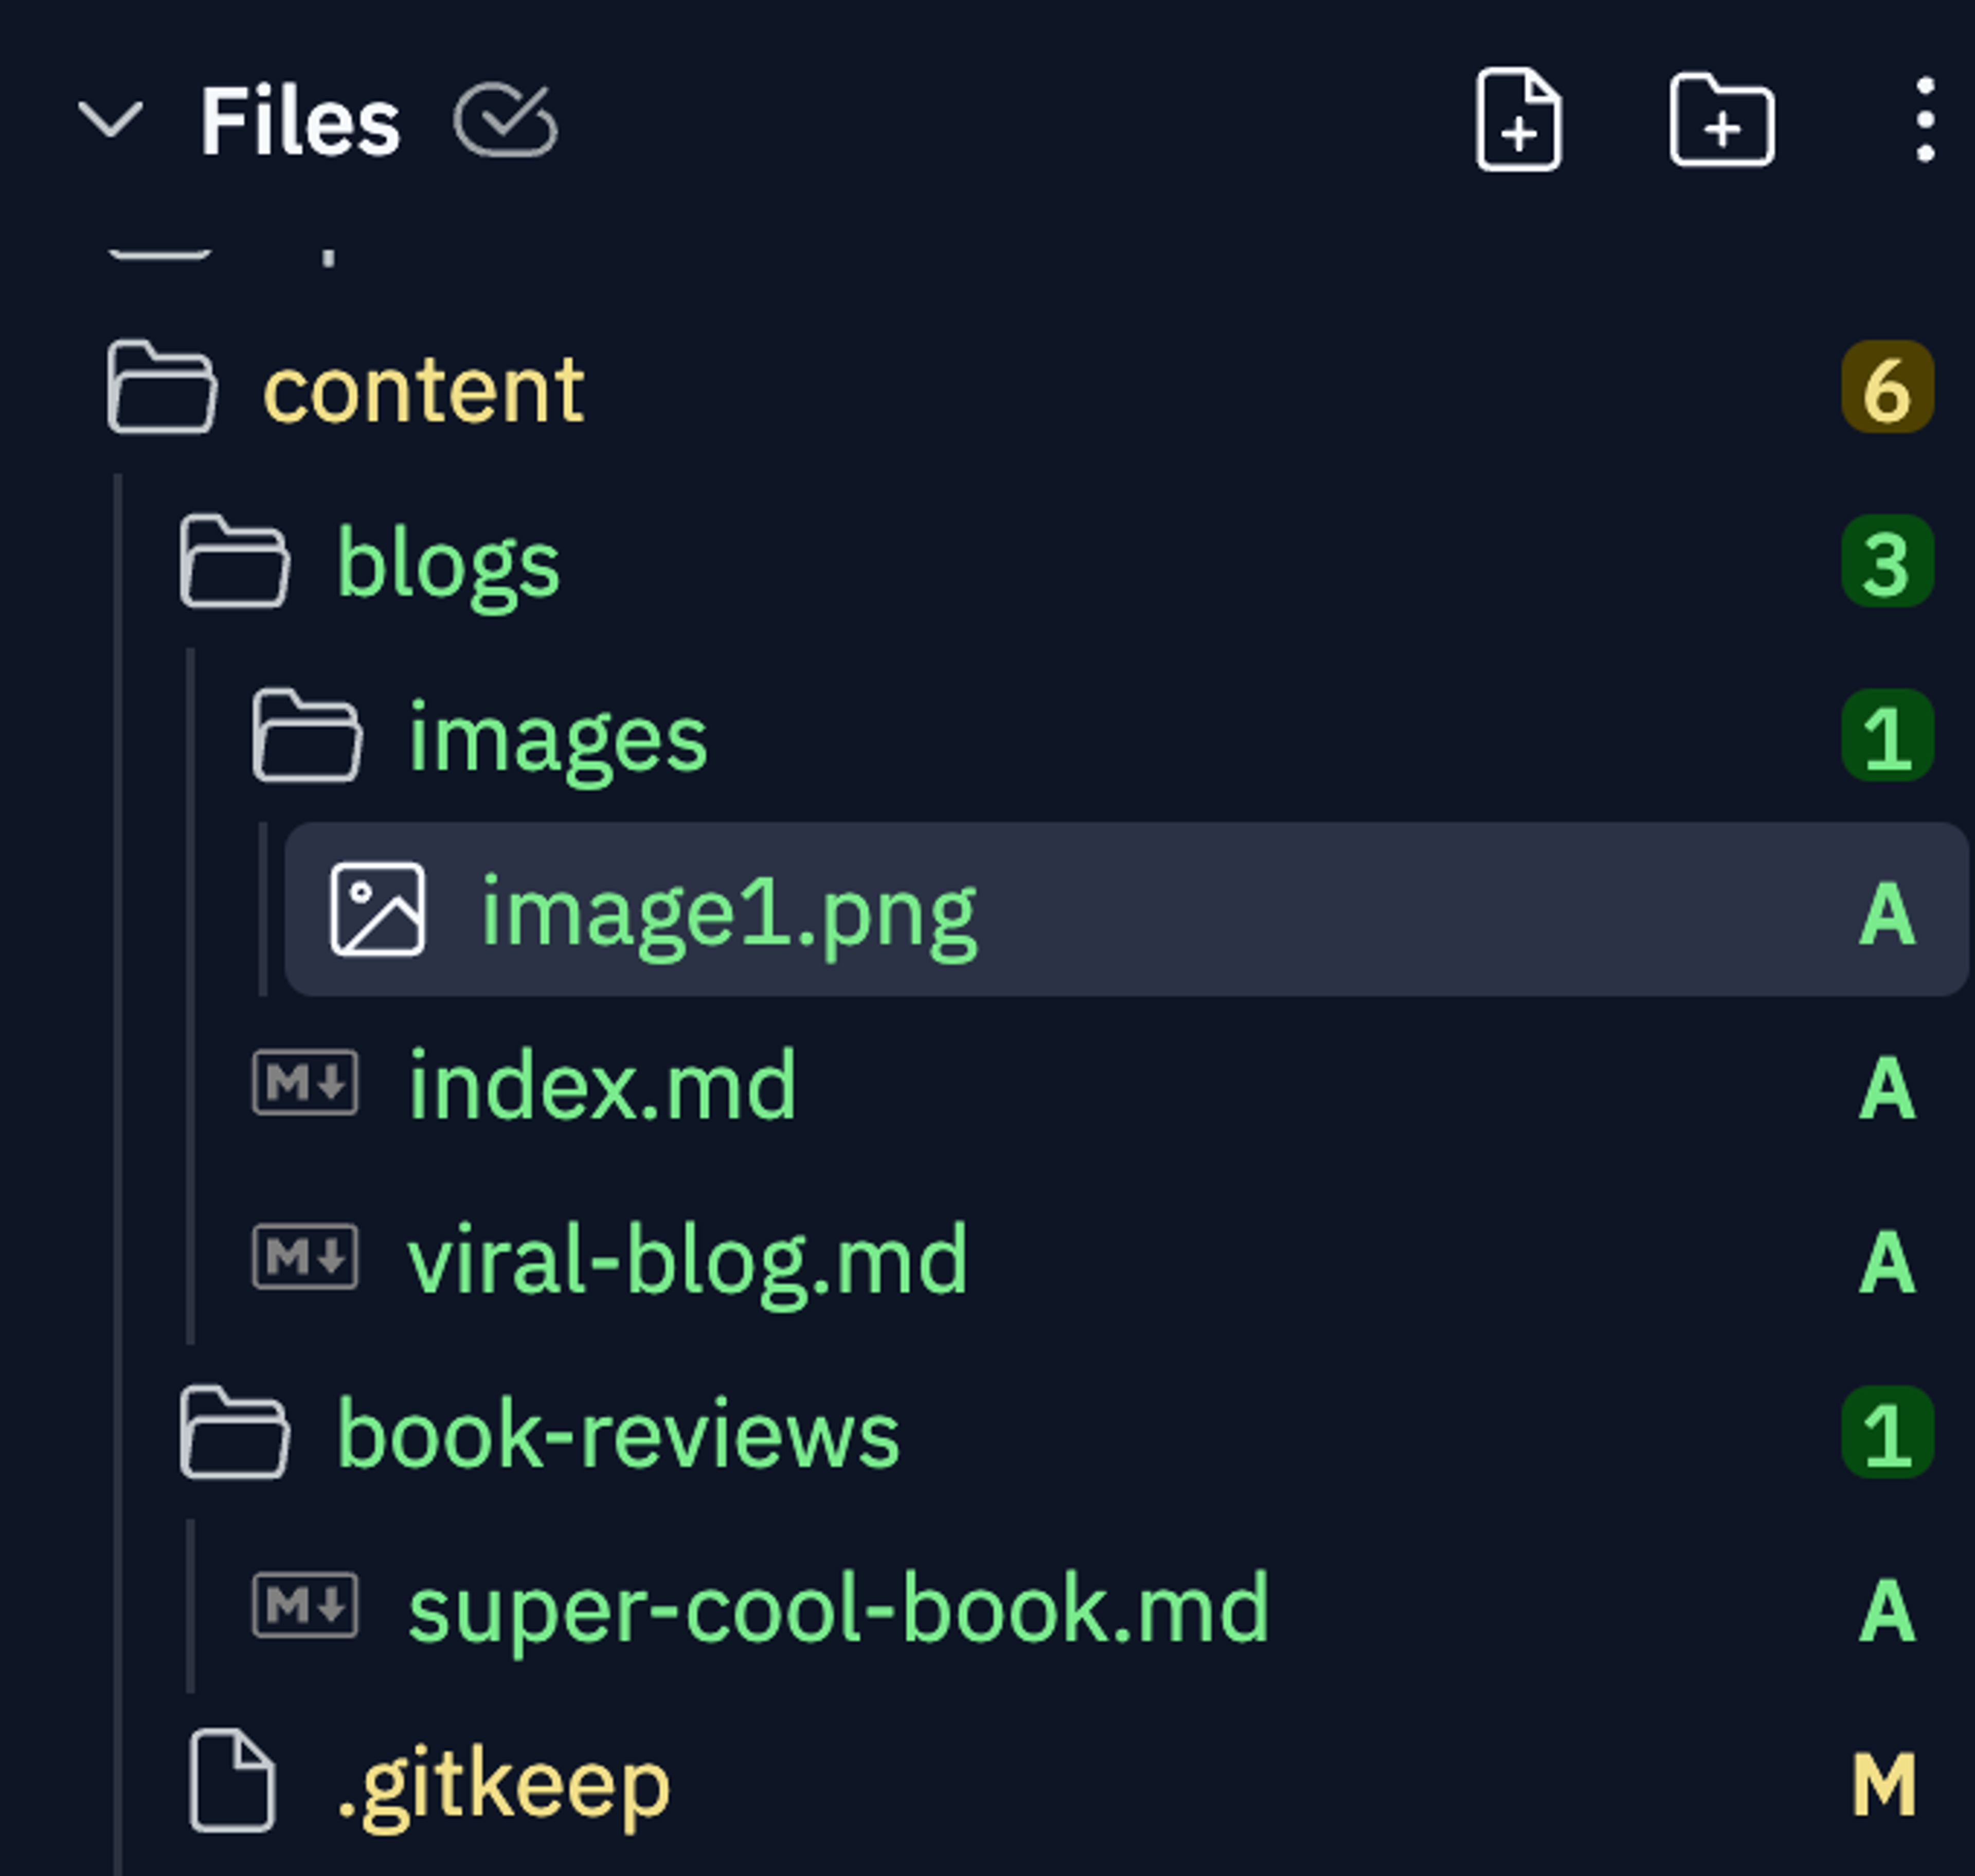
We have added the image labeled as image1.jpeg to the images folder. Now, I need to place it. We will include it in viral-blog.md. To link a photo in Markdown, here’s the format:

For image1.jpeg in images, it would be:
[Image 1](blogs/images/image1.jpeg)
Once this is complete, the images should be pulled through to your project.
Deploy your website #
In the top-right of the editor, you should see a button labeled “Deploy.” Click that button and select “Static.”
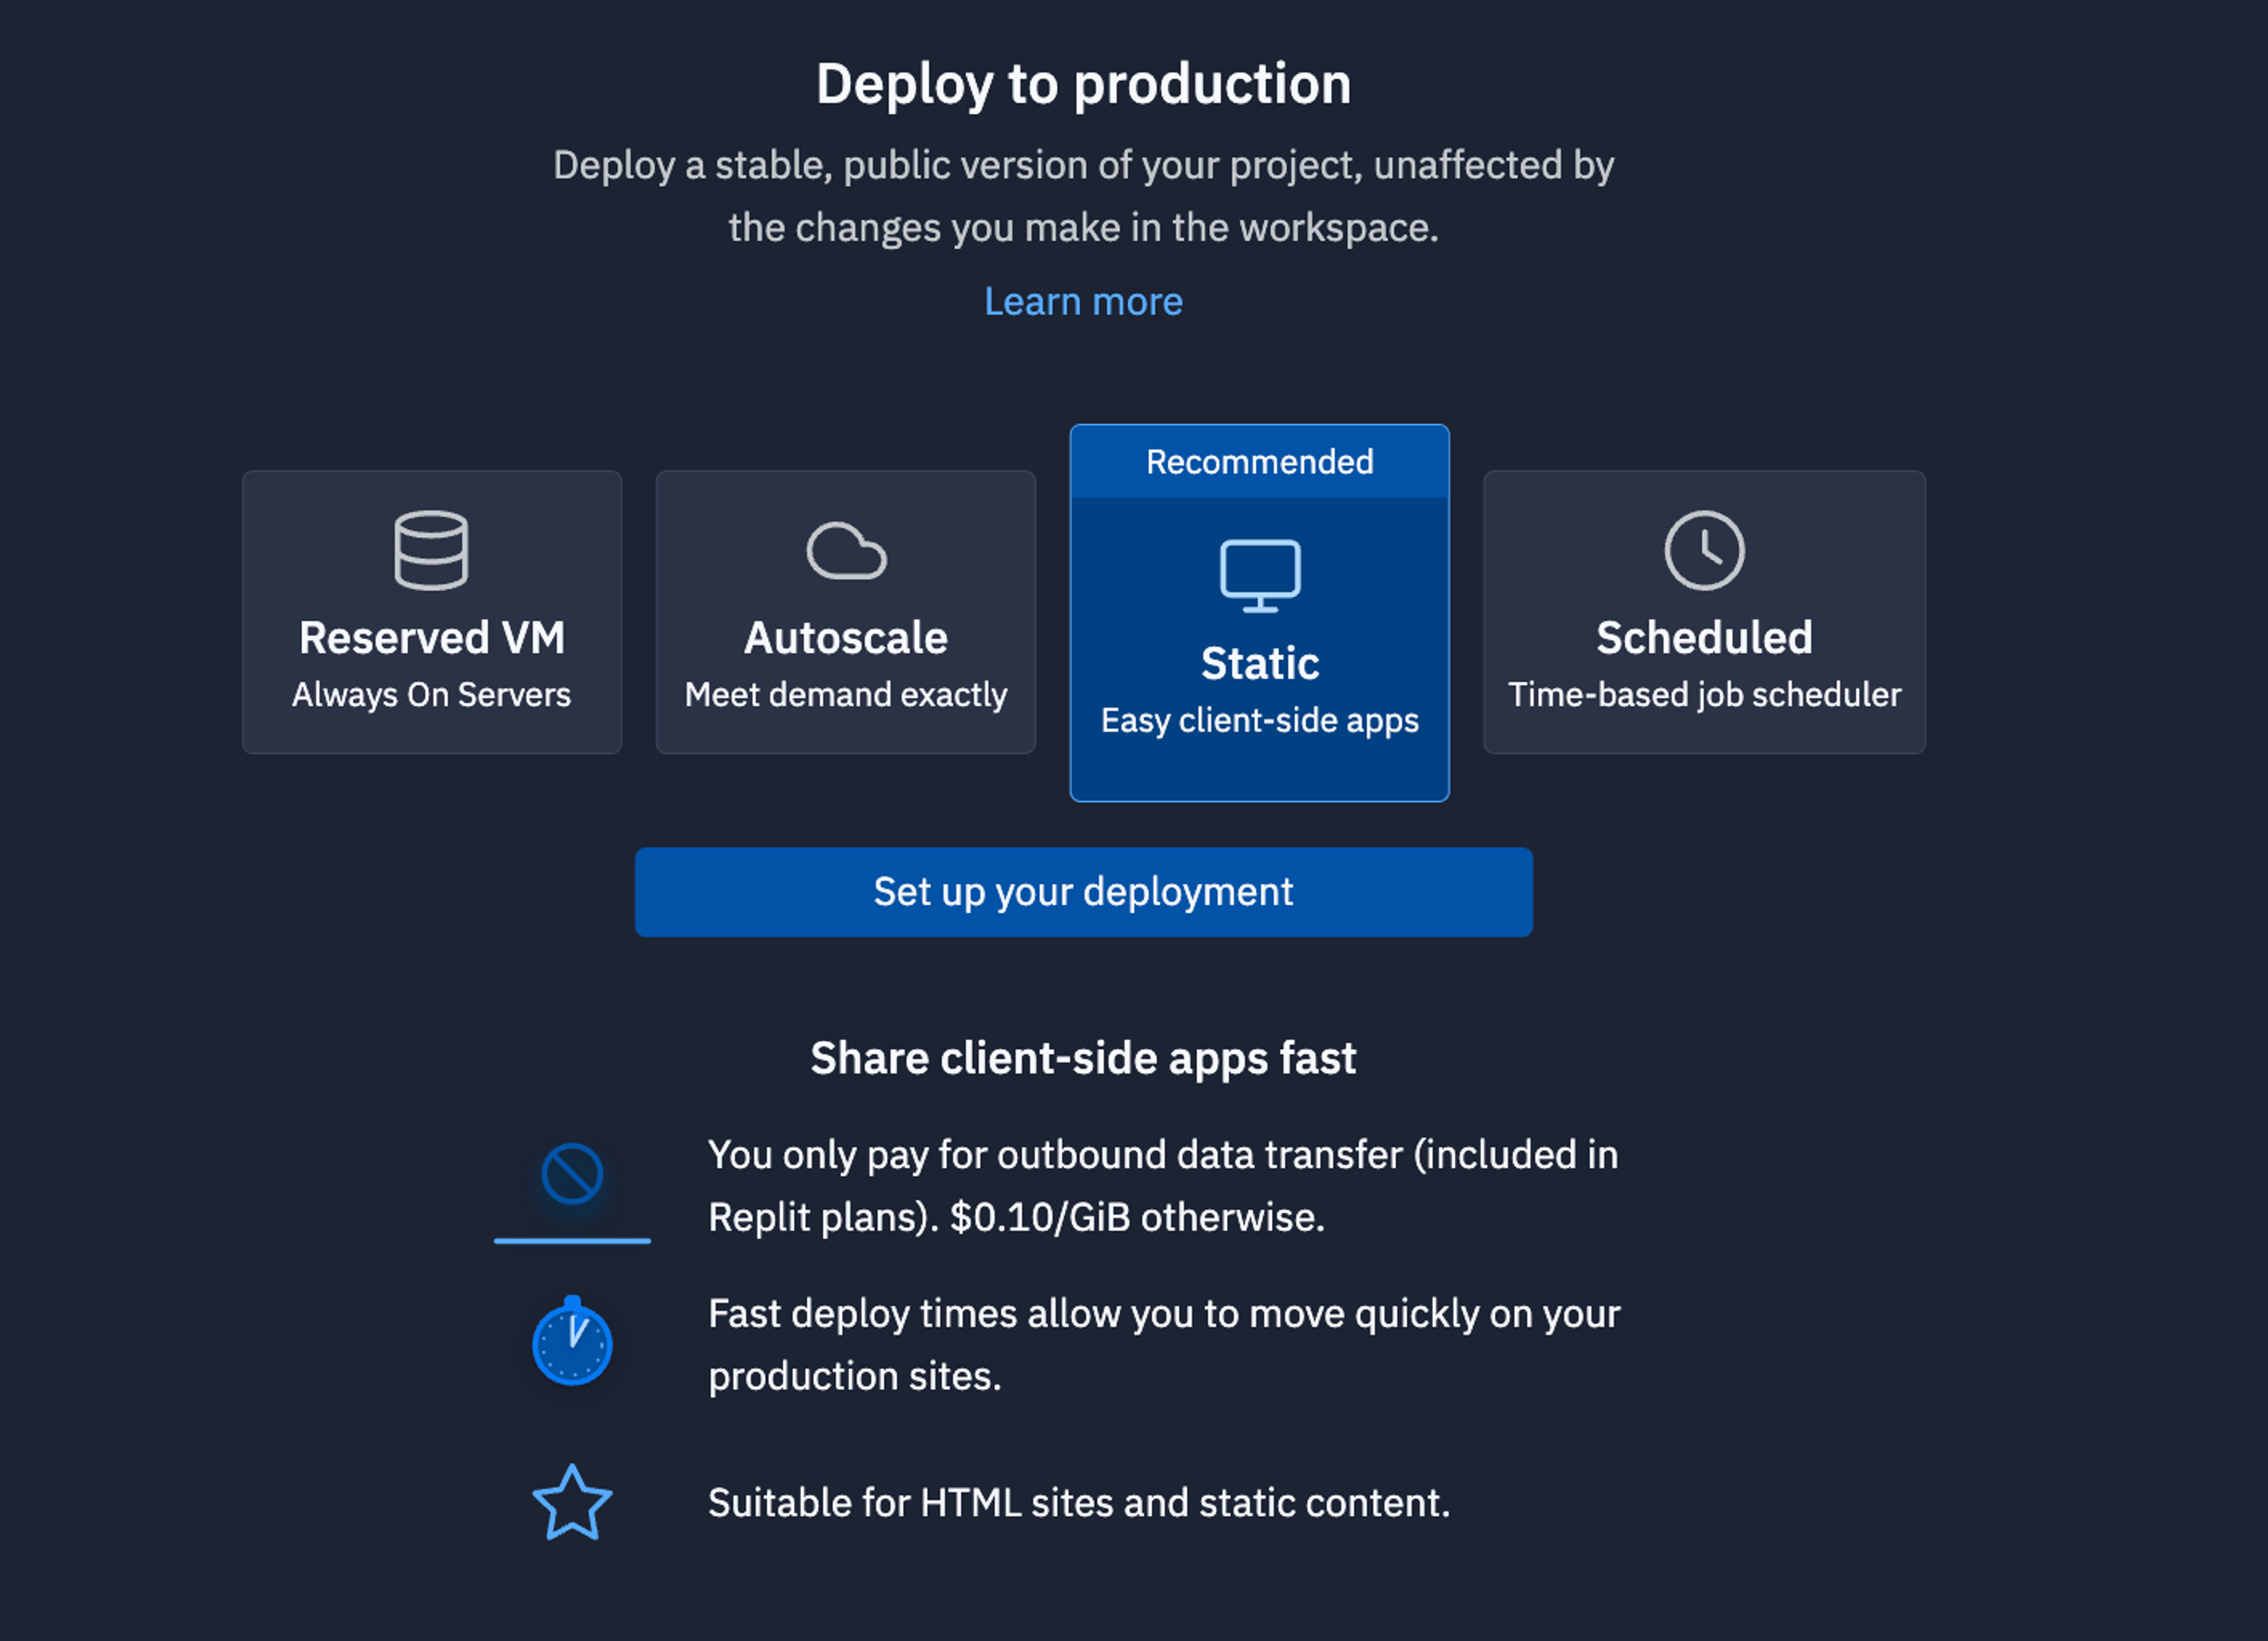
To deploy you will need to add a form of payment. We would recommend signing up for Replit Core ($20/mo). Replit Core gives you a boosted workspace, access to advanced models, and $8 of cloud resources to use across your static website or other deployments.
Once you deploy your application, you will have a unique replit.app that anyone can access. replit.dev urls time out, so in order to have a website up all of the time, you need to deploy.
What next #
These are the basics of Quartz. From here, you can start writing and publishing your blog. Make sure to Redeploy after each change.
There are many more things you can add to your site with Quartz. Examples include callout boxes, tables of contents, and more. Read the full Quartz documentation for more information.

